Bringing Blooms to Life
Creating a Floral Wall with Papercrafts!
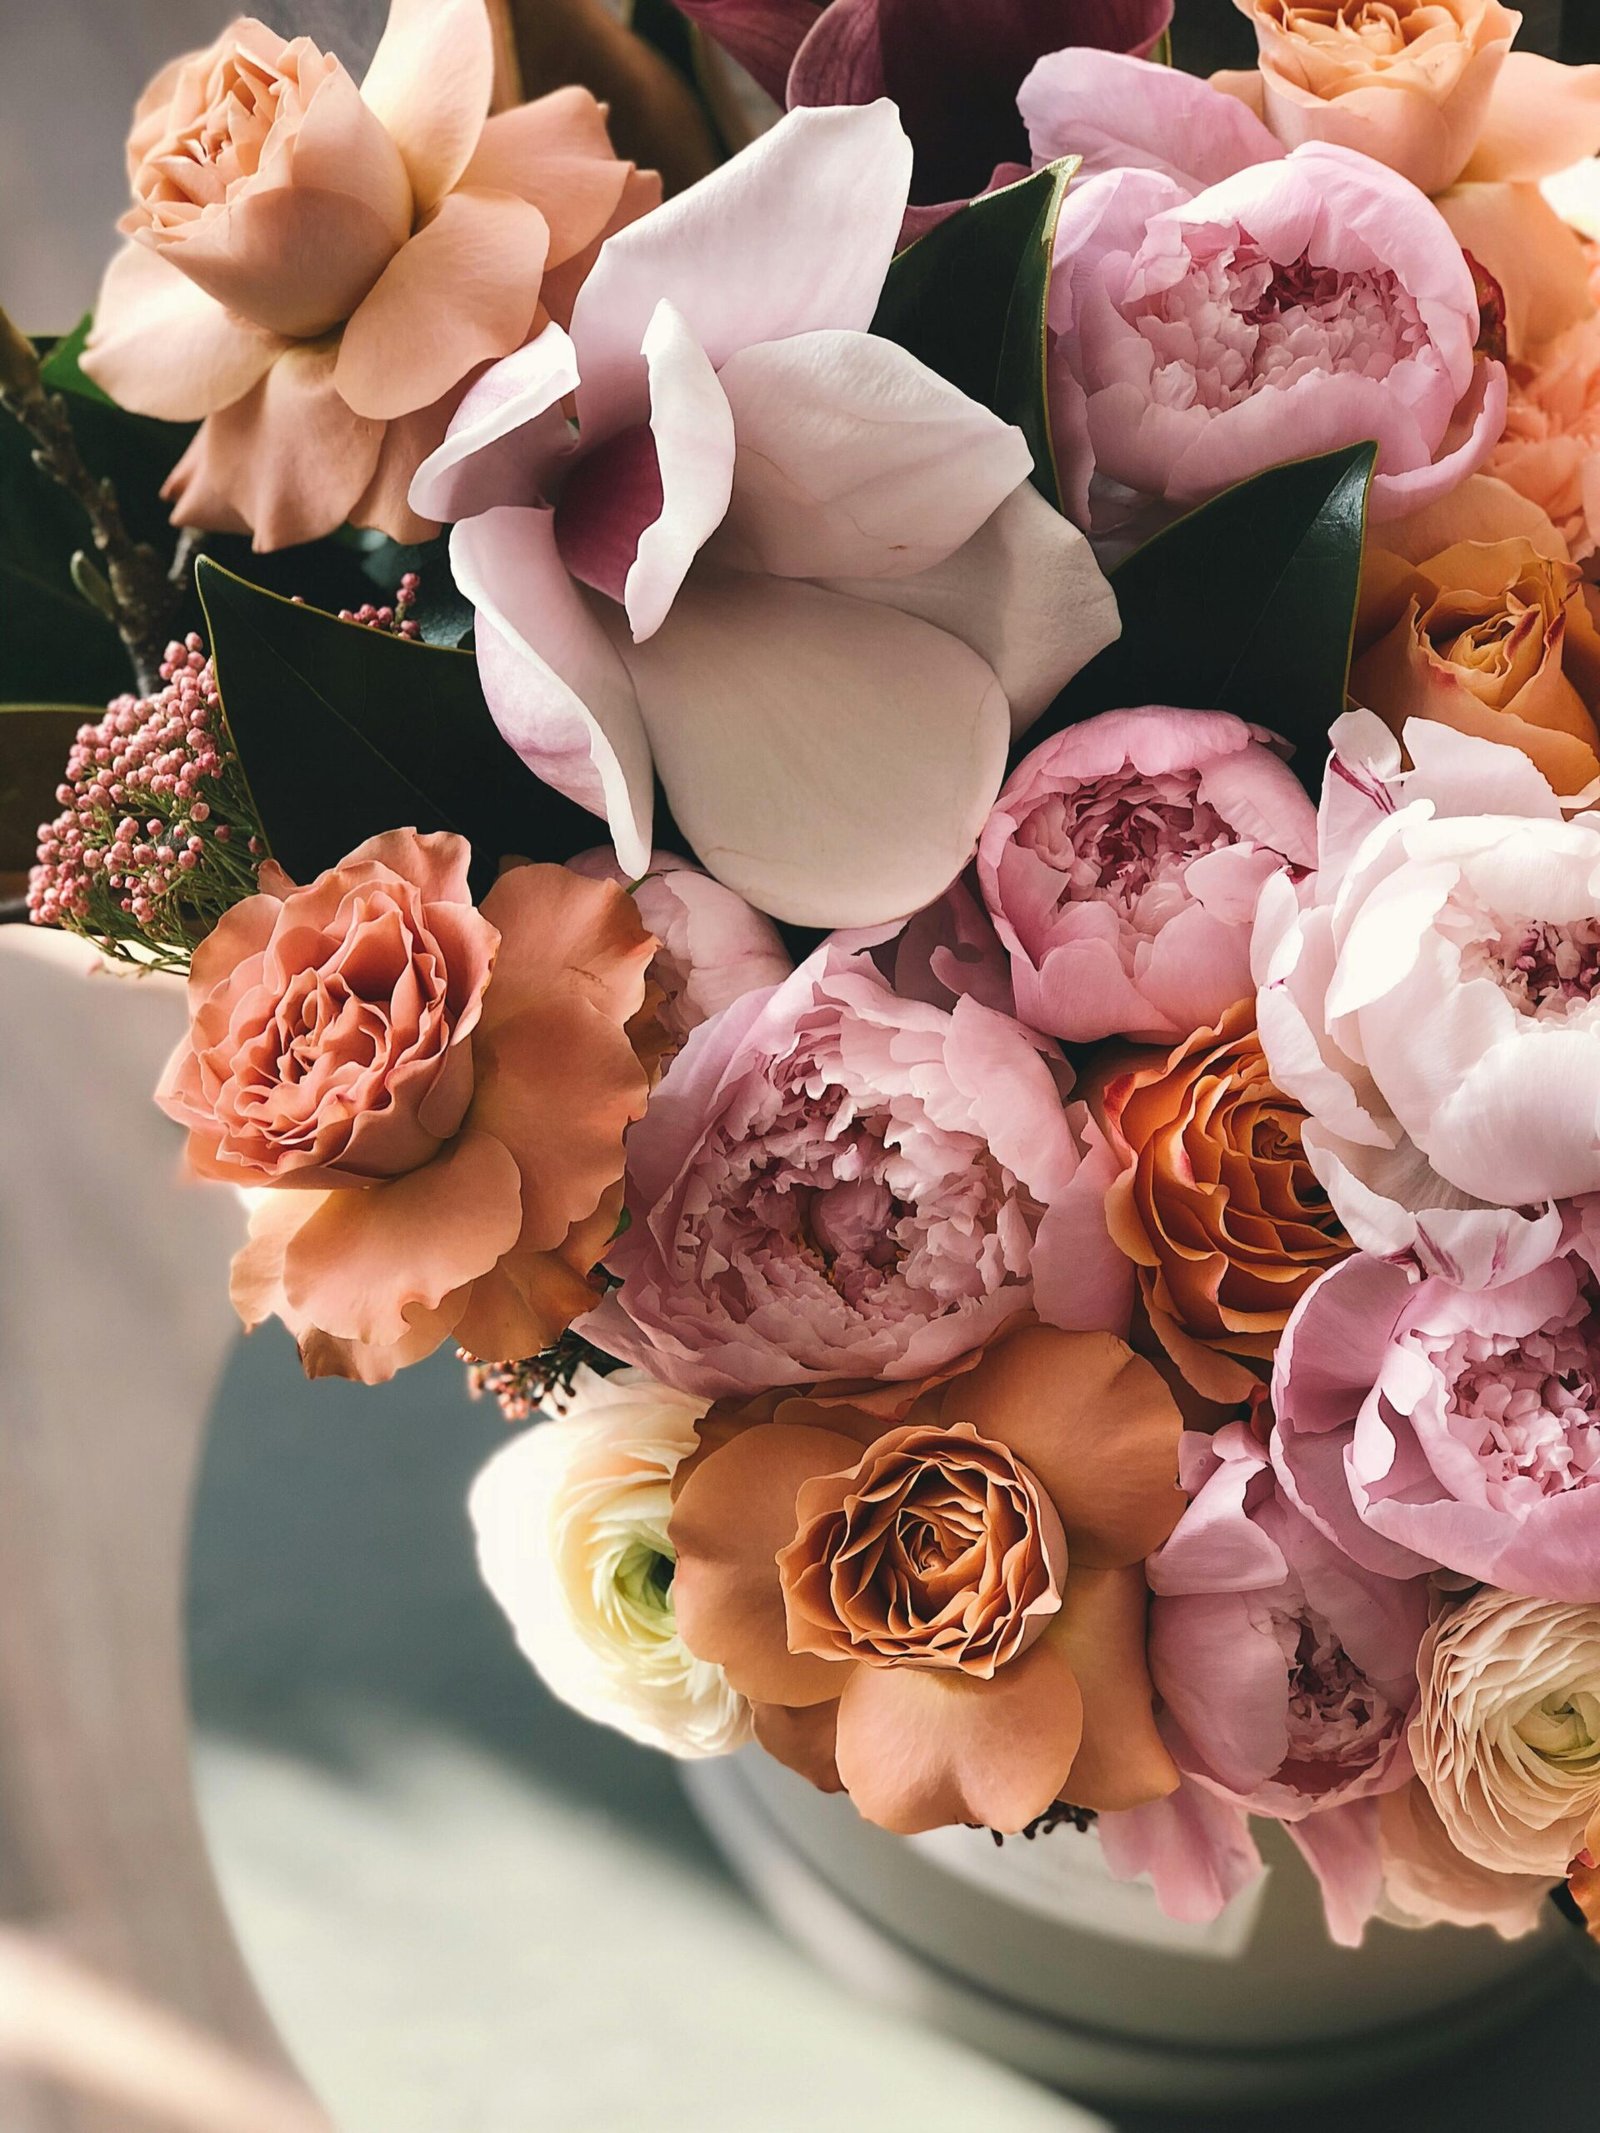
There’s something magical about flowers — their color, texture, and ability to instantly lift a space. For a recent event, I wanted to capture that magic in a way that would last longer than fresh blooms and showcase a handcrafted touch. The solution? A handmade floral wall made entirely from paper.
In this post, I’ll walk you through the process, from concept to creation, and share how you can make your own stunning papercraft floral wall.
Where it All Began…
I’d been dreaming of creating something bold and floral for a while — something that would transform a space and serve as a beautiful, handmade focal point. While browsing for inspiration, I came across My3DSVG on Etsy, a shop that offers beautifully designed SVG files for various 3D layered designs.
Each file included detailed templates that could be cut with a Cricut or other cutting machines, making the process far more efficient and precise. These designs became the foundation of my floral wall — I downloaded a handful of my favorites, each offering a different petal shape and style, and got to work.
Here is a list of all the files I used for this project:
Choosing the Right Paper
To bring the designs to life, I used a mix of medium-weight (65 lbs) and heavy-weight (110 lbs) cardstock. I generally buy cardstock from either Michaels or Hobby Lobby when they are on sale! The heavy-weight cardstock offered clean cuts and structure for the large petals and leaves, while the medium-weight cardstock added a softer, more realistic texture for smaller details like flower centers and fringed edges. Because the final size of each design is 8 x 8 inches, it’s important to use 12 x 12-inch cardstock for this project; cutting from 8 x 11.5-inch cardstock will be a bit difficult due if your cutting machine has outer and inner limits (e.g. Cricut).
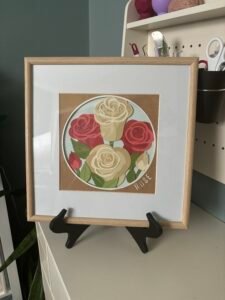
The color palette I chose leaned into pastels and vibrant spring hues — soft pinks, creamy whites, buttery yellows, and lush greens — perfect for creating a cheerful, garden-inspired effect.
Building the Blooms
Thanks to the SVG templates, each flower came together like a well-guided puzzle. Here’s a look at the crafting process:
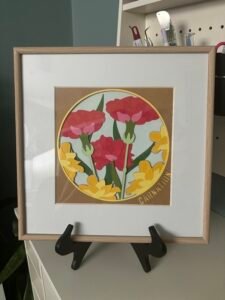
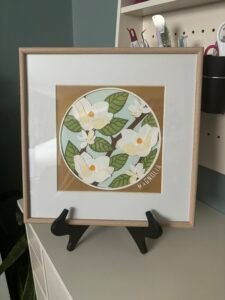
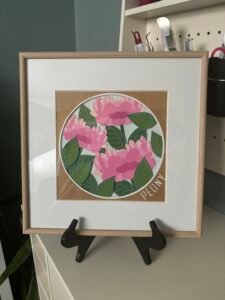
- Cutting the Layers: I used my Cricut machine to cut the templates from the My3DSVG files, adjusting sizes and layers to create variation until I achieved my desired look.

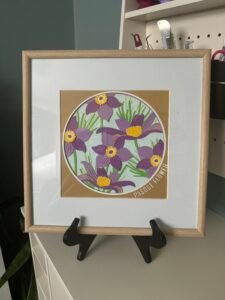
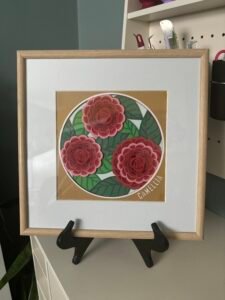
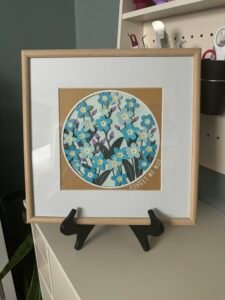
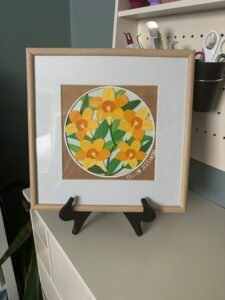
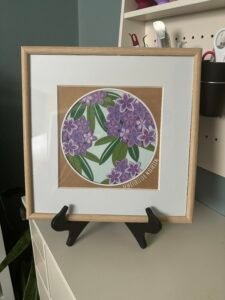
- Arranging: Each layer is numbered to aid in assembly. The final layer, namely the top layer with the flower name, isn’t numbered to create a seamless design.
- Assembling: I glued the layers from the base to the top, following the suggested build order, taking extra care to make sure each layer is perfectly aligned.
Constructing the Wall
Once I had all nine flower designs constructed, it was time to build the wall itself:
- The Frame: I used a pack of nine Bamboo Frames that I found in Home Goods!
- Layout: I arranged and rearranged the designs on the floor first to experiment with placement, color balance, and synchronicity.
- Final Assembly: Once I was happy with the layout, I used Command Strips to hang each frame (don’t forget to use a level to ensure that every frame is straight!).
The Finished Floral Wall
The end result was better than I imagined — a lush, layered floral installation that brought warmth and charm to my office! It makes a perfect photo backdrop and is a great way to fill my office with flowers… that won’t die lol.

Tips if You’re Creating Your Own
Why I Loved This Project
This floral wall was more than just a DIY decor piece — it was an immersive creative experience. Using the SVG templates gave me the confidence to take on a large-scale project and the flexibility to personalize each flower design. Watching it all come together reminded me just how joyful and transformative handmade art can be.
If you’re thinking about adding a statement piece to your home — or just want to bring a little extra beauty into your space — I highly recommend diving into papercraft florals. 🌸
Thinking of ordering a custom flower wall?
Want me to create a flower wall for you? Drop me a message me using the form to your right — I’d love to collaborate with you!